Disclosure: This floral wreath shop has been compensated by Collective Bias, Inc. and its advertiser. All opinions are mine alone. #MyTuesdayValentine #CollectiveBias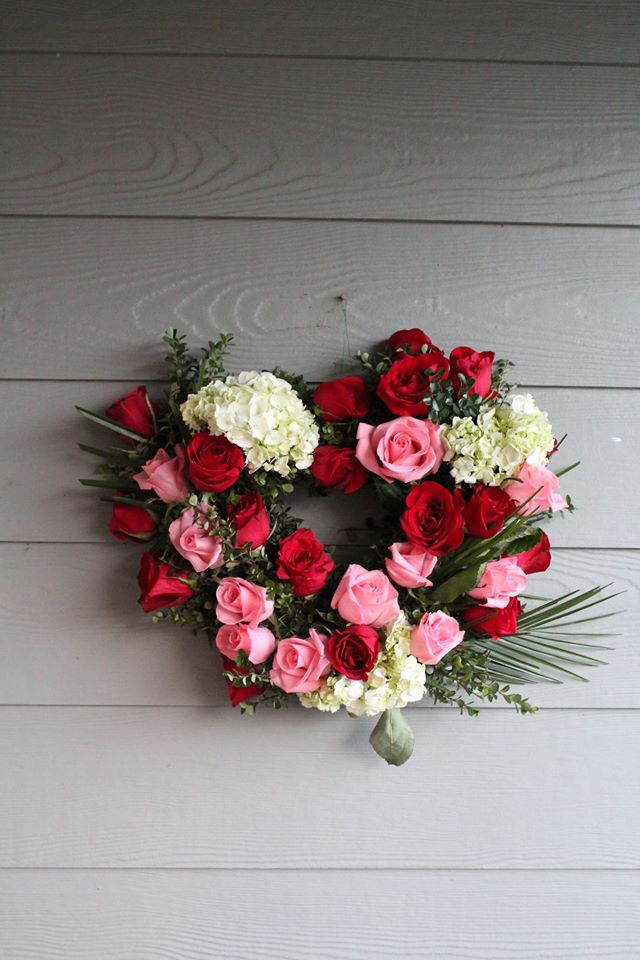
I cannot believe that Valentine’s day is less than 2 weeks away! It always seems that the time between Christmas and Valentine’s Day flies by super fast. We don’t normally do too much around here on Valentine’s Day. Wayne and I have spent many together now – it will be #13 this year. We’ve always just had little ones and no sitter, so we usually celebrate on a separate day.
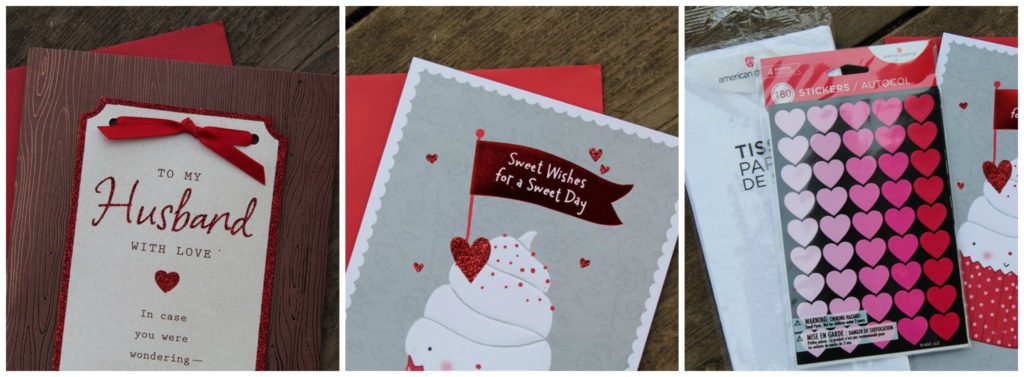
As the kids have gotten older, I enjoy celebrating the holiday with them, by giving them cards, small gifts, and making special treats or crafts together. American Greetings has a gorgeous selection of romantic (and fun) Valentine’s Day cards along with gift bags, tissue paper, stickers + more.
Instead of purchasing flowers on Valentine’s Day (when prices go crazy!) I like to stock up on lots of pretty roses before and after. I’ve always thought about attempting to make a floral wreath like I’ve seen all over Pinterest, so last weekend I decided to put my DIY hat on and give it a try.
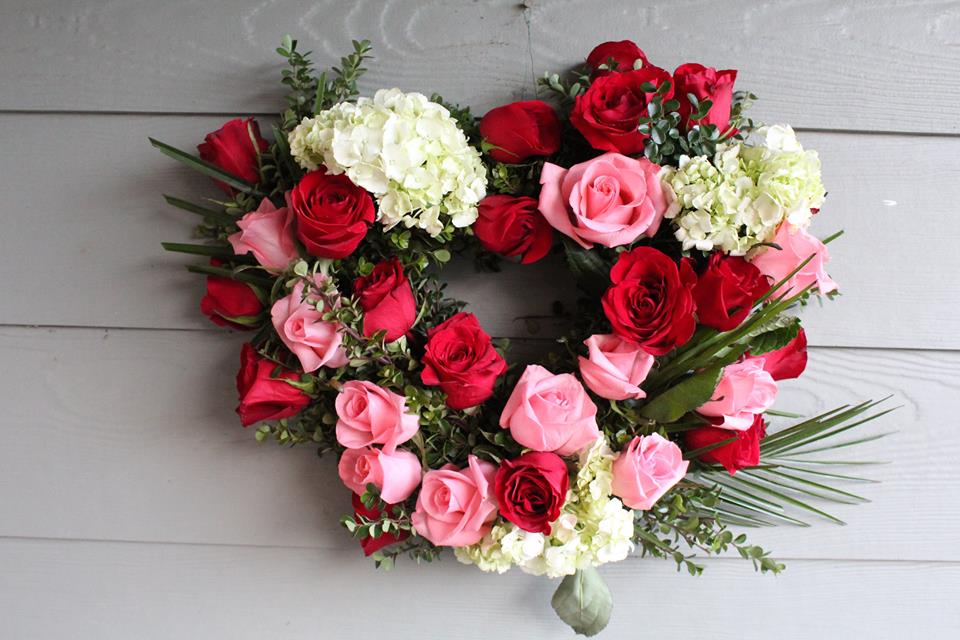
I think it turned out pretty good. 🙂
How to Make a Heart Shaped Floral Wreath
What you need:
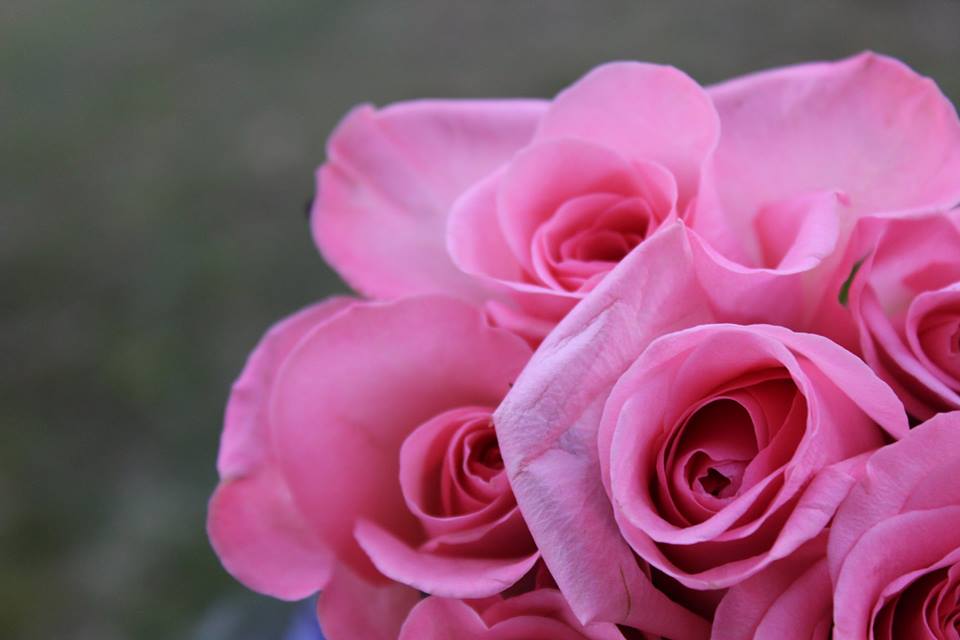
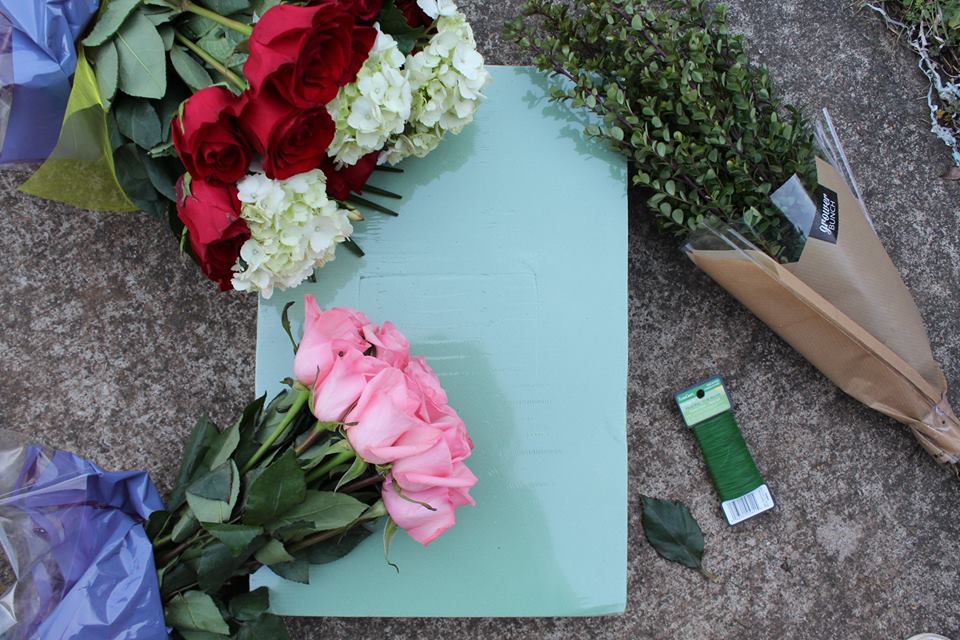
Fresh flowers! I purchased two set’s of roses: a dozen light pink and 18 red roses. In addition I also had a few Hydrangea flowers to mix things up a bit.

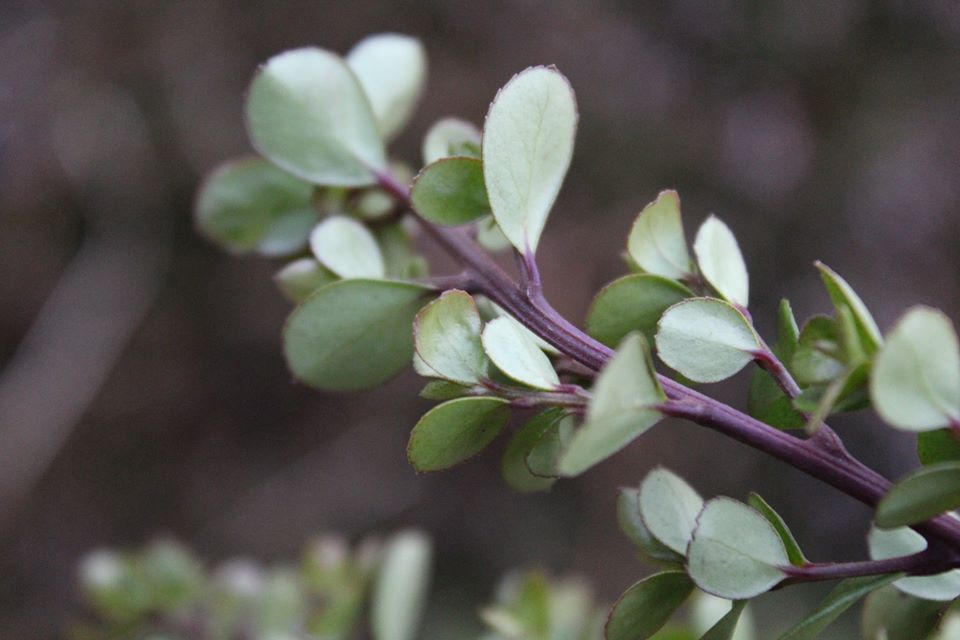
Fillers! I bought a package of greenery that complimented the roses well.
A block of green floral foam and floral wire
– and a knife to cut it.

Since I like to free-hand stuff, I sketched my design on the green foam and then cut out the design. Afterwards I soaked the foam in water for 15 minutes or so, allowing it to absorb the water to keep the flowers fresher longer.
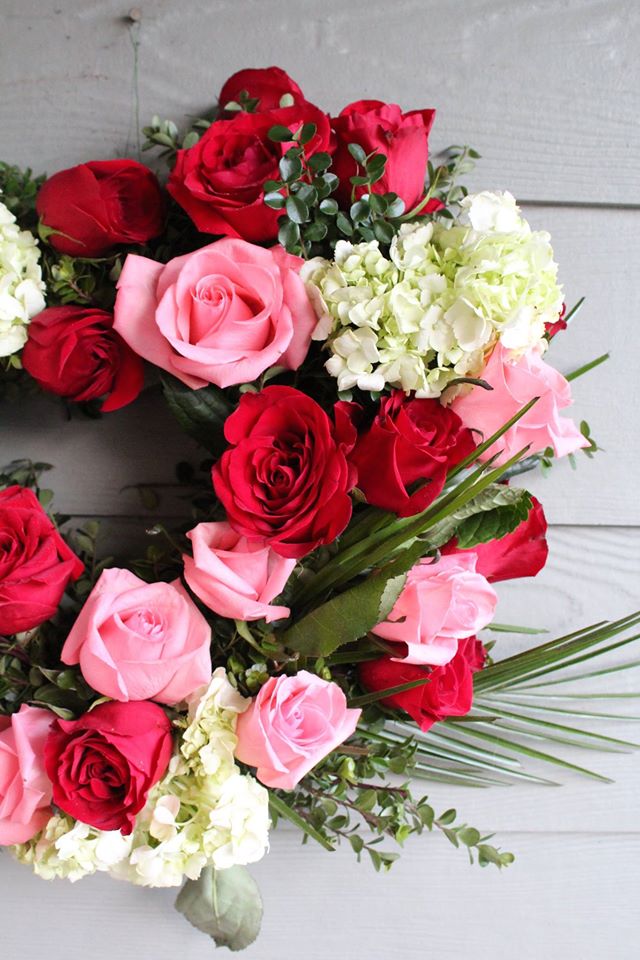
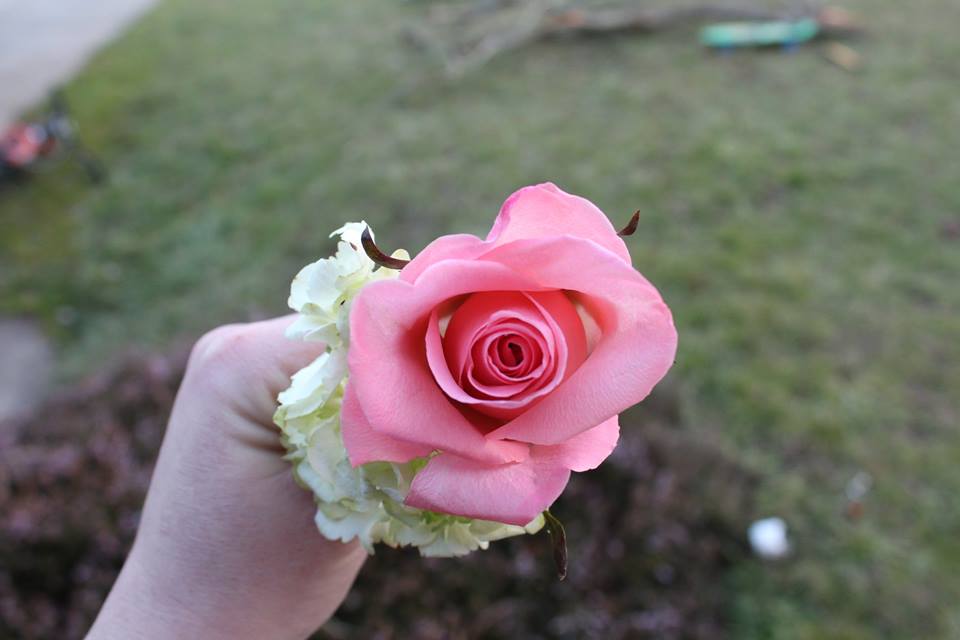
I then spread out all of my flowers and greenery on the kitchen table and began assembling my floral wreath, starting with the greenery, inserting the end in the foam, then wrapping it around the wreath and holding it in place with the floral wire. I repeated this until I had the look I wanted, then I began inserting the roses into the wreath, by cutting the stems to about 1″ 1/2 to 2″.
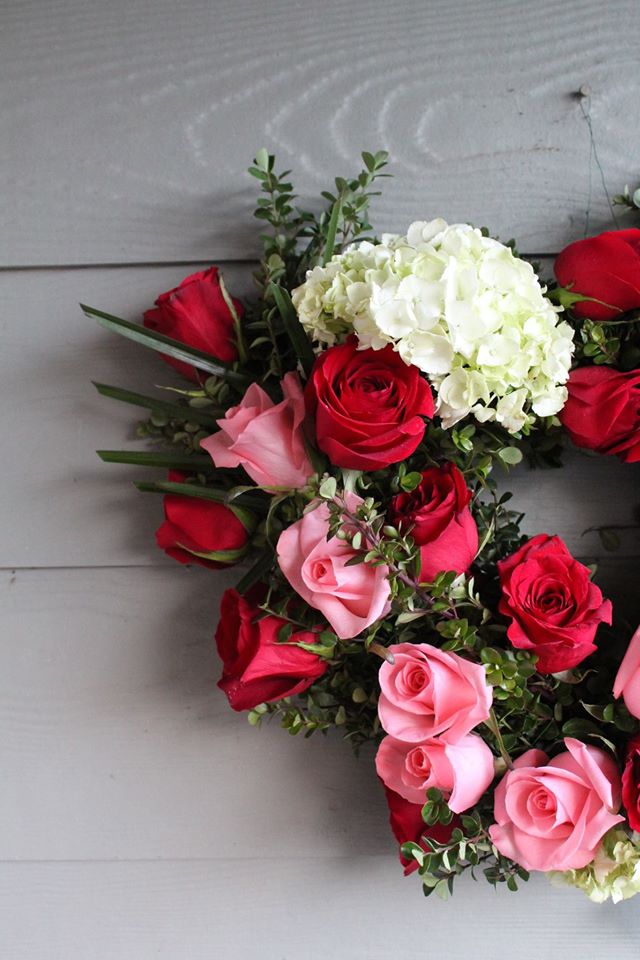
Afterwards, I then wrapped wire around the top to make a hanger and voila! A pretty heart floral wreath! It’s gorgeous just hanging up on my porch, but would also make a fabulous gift to give to a loved one along with an American Greetings Valentine card. You could even place it carefully in a gift box and gently cover it with tissue paper for a more dramatic display.
Free Valentine Printables!
In addition to the Valentine’s cards, you can also print off some fun Valentine’s printables at this website. Items include:
- Printable Shopping list with tear-off “loves notes” perfect for leaving around the house, in lunch boxes, etc.
- Mobile/desktop wallpaper (to keep Valentine’s Day top-of-mind)
- Printable 8×10 Valentine’s Day frame-worthy quote
- Printable February calendar

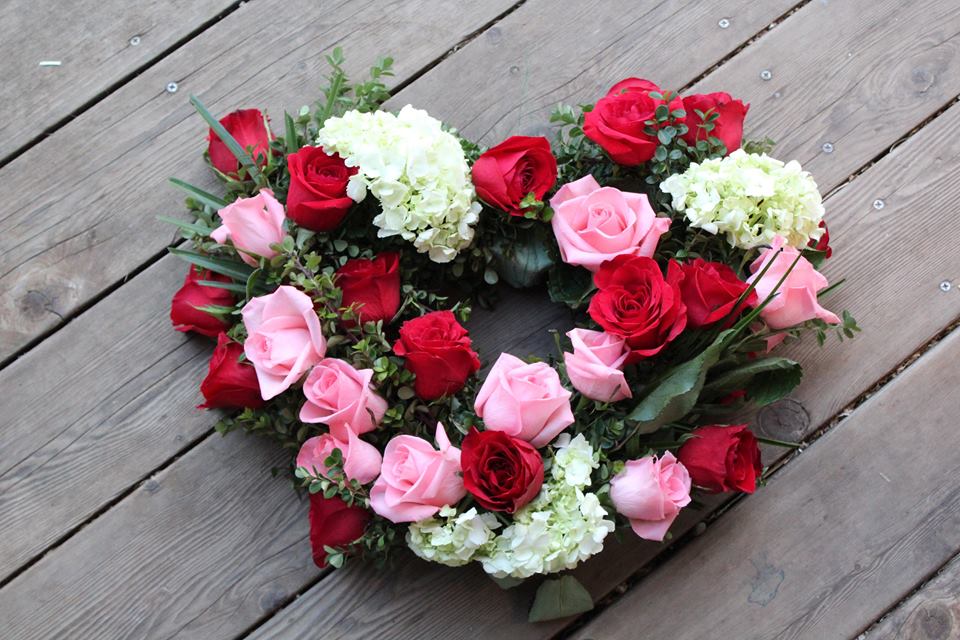
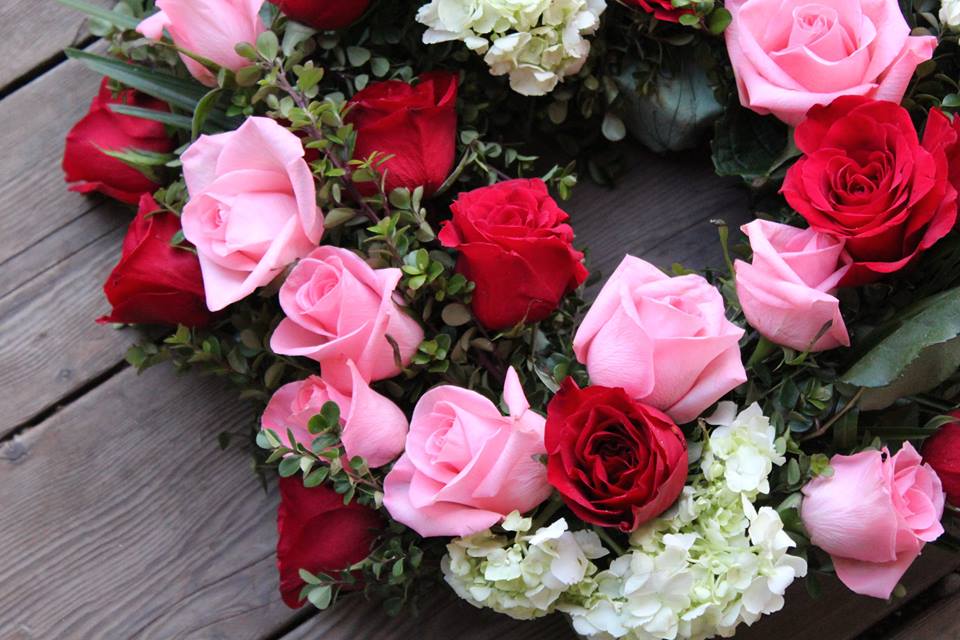
Have you ever made a floral wreath before? Do you have any other tips? Please comment below and let me know!
To find out more information + where American Greetings are sold, visit this website!
~Melissa

8 comments
This wreath is absolutely gorgeous! I’ve made wreaths with fake flowers, but I never attempted real flowers. I really like that you combined pink and red flowers. I wonder how long they will stay alive with the moistened foam. I may have to try making one with my daughter. Thanks for sharing! #client
I kept my flowers in a cool place (like the garage) until ready to assemble. After two days I placed the wreath in a pan of shallow water to soak up more water. We are on day 4 now and it’s beginning to look a little wilted, however I used roses that had already begun to open up when I assembled it, so perhaps using roses that aren’t fully opened may keep it looking fresh for a week!? 🙂
Love this Melissa – congrats – you are one of our Featured Guests at Inspire Me Monday at Create With Joy!
Thanks!
This is such a perfect valentines idea!! I really love this so much! #MMBH
Thanks! It was a lot of fun to create!
Absolutely beautiful! I love this.
Thank you!